Steemit is an interesting blockchain project that rewards its users with the cryptocurrency STEEM for publishing and curating content.
Without going into the details, Steem’s Delegated Proof of State consensus was essentially hijacked by a consortium of exchanges in order to replace the validators of the network and “take over“.
Apparently Steem DPOS got taken over by big exchanges voting with depositors' funds. Can anyone confirm and/or provide details?
Seems like the first big instance of a "de facto bribe attack" on coin voting (the bribe being exchs giving hodlers convenience and taking their votes) https://t.co/cEX7PLnbUW
Standard Proof of Stake (PoS) consensus algorithm allows individual users to lock up their coins in order to validate transactions and earn transaction fees (compared to miners competing for hashrate).
More importantly, PoS allows for vote signaling in these types of systems as well. Literally, your money = your votes (roughly).
However, in standard PoS, you yourself have to signal these votes and manage your own stake.
In Delegated PoS, you have the option to allow someone else to manage your stake. They can leverage your coins to participate in staking, get rewards (and distribute to you), and vote on your behalf.
Now, combine DPoS with centralized exchanges holding your coins for you.
Whether you opt-in to have your coins participate in staking through the exchange or simply the fact that, when your coins are in an exchange, the exchange owns the coins and can do whatever they want, the exchanges consolidate a vast amount of DPoS staking and voting power.
And then, they might use it to take over a blockchain.
Vote with your wallet
The classic adage is here to stay: not your keys, not your crypto.
If you leave your DPoS coins and tokens in your exchange, not only do you leave yourself liable for their theft/loss/hack etc, you are also enabling the exchanges to vote on your behalf.
If you don’t want exchanges to have this type of buying power, withdraw your tokens to a personal wallet.
Today is an exciting day: my Ledger Nano S has finally arrived!
For those that don’t know, the Ledger Nano S is a cryptocurrency hardware wallet meant to store your coins safely off the internet to keep them less prone to hacks, exchange theft, or software failure.
I bought mine because I don’t trust keeping my coins on an exchange and because my laptop has been acting up and crashing frequently.
So instead, I’ll keep my coins safe on this little USB stick.
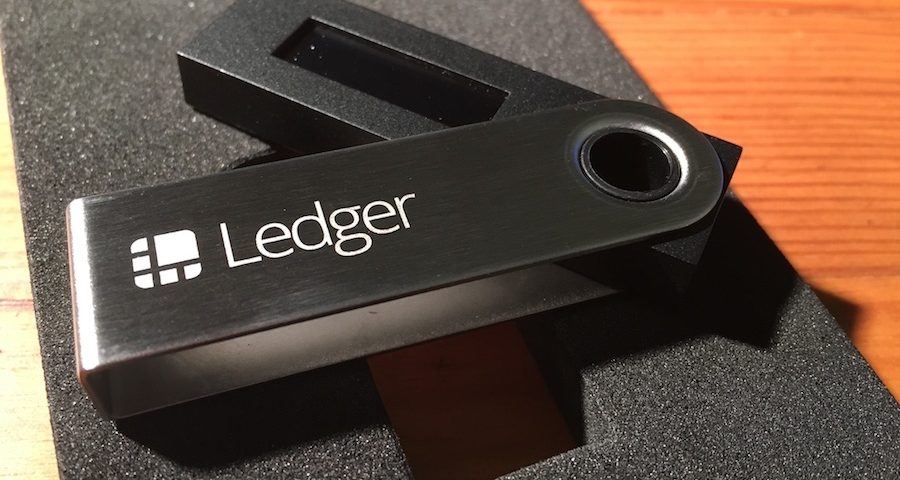
Ledger Nano S – Money Shot
AND in case I lose or destroy it, it has a 24 word seed that I can use to restore my wallets on any other Ledger product.
TL;DR
This wallet was super easy to setup, intuitive to manage, built solid, and feels like an Apple product. I highly recommend it to investors of all calibers. Buy it now.
Quick Timeline
I bought the Ledger Nano S for about $100 straight from the manufacturer in France.
Ordered – Dec 21, 2017 Shipped – Jan 2, 2018 (via La Poste Colissimo) Arrived – Jan 8, 2018
This was before they announced a 3 month product delay, so pre-order now while you can.
The Physical Product
The product package measures 5″ x 3 1/8″ x 1 1/8″ and came shrink wrapped as a nice touch.
Ledger Nano S – Packaging
As expected, the Ledger Nano S is extremely light and is about the size of any USB thumb drive (~2 1/4″ long).
Opening up the package felt super satisfying in the same way it feels to unbox an iPhone.
Ledger Nano S – Unboxed
The wallet itself it smooth and shiny, but easily takes fingerprint smudges. Inscribed on the back is “Vires in numeris” – Strength in Numbers.
Also included is a small welcome packet including instructions on setting up your device, a note about device security, and a blank 24 word seed store card.
Ledger Nano S – Seed Card
Though I probably won’t be swinging mine around on a keychain, they do provide a small key chain and even a lanyard – and a micro-usb to usb connecting cable of course.
Ledger Nano S – Everything Included
Working with the Device
Once connected to my computer, the Ledger Nano S lit up and scrolled through some basic instructions on setting up the device.
The device itself only has two buttons on it, but the Ledger team made their app very intuitive even with just two buttons to work with.
Note: the device itself doesn’t turn on without being connected to your computer, so don’t go pressing buttons with hope.
The startup sequence was actually quite short.
First, you select a 4-8 digit pin for use in unlocking your device. This pin can be changed or even randomized in the device settings.
Then, you are taken through the seed generation process. One by one it shows you your 24 word seed. Make sure to write this down in triplicate and store them safely – these are your lifelines in case something goes wrong with your product.
After it takes you through the initial 24 words, it will prompt you to confirm 2 of the words’ orders – like “select word #19″. This acts as the final stage in setting up your device.
Then you’re all done with setup! Once authenticated with your PIN, you can navigate through to the default applications: BTC and ETH wallet.
I didn’t want to risk my BTC to start, so I opted to add Ripple.
Adding Ripple to the Ledger Nano S
Note: Though I don’t go over it here, you would take the same steps to work with BTC etc – download the Ledger Wallet BTC and navigate to the corresponding app on your device.
By default, the Ripple wallet app is not installed on the Ledger Nano S.
Luckily, it’s very straightforward to do so.
First, download the Ledger Manager app through chrome. It was a bit weird for me to do this the first time because it’s a chrome extension that acts like an application on your computer.
Open it on your computer, then connect your Nano S and unlock it with your pin. This should prompt the Ledger Manager to unlock itself and present the dozens of wallet apps you can install.
Ledger Manager
It took me a couple tries, but finally the one-click Ripple wallet install worked.
This chrome application, just like the Ledger Manager, is installed on my computer and only unlocks once your device is plugged in, authenticated with PIN, and has the Ripple app open.
Once it’s unlocked, you can easily see your Ripple address, send coins, and check your balance. It even generates easy QR codes and allows you to print or even send via email.
Ledger Wallet Ripple
To confirm how easy it was, I downloaded Ledger Wallet Ripple on an entirely new computer, plugged in my device, and confirmed that my Ripple was safely stored.
Final Notes
I love this product!
It was sold to me for a fair price and delivered in a fair amount of time for an international shipment.
It has an intuitive UI, was incredibly easy to setup, and the Wallet apps are incredibly simple yet refined.
That being said, it does have some room for improvement.
At this time, the Ledger Manager does not show a list of the apps I have installed or provide any settings for those installed apps – though I can select and manage settings for these apps on the device itself.
Vastly small improvements compared to the value you’re getting with the Ledger ecosystem.
Maybe one day I’ll be lucky enough to upgrade to a Ledger Blue.